
Tassel Garland Tutorial
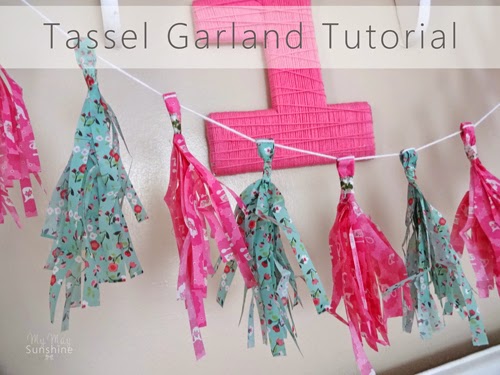
Today I am going to show you how I made the tassel garland that I made for Amelia’s first birthday on Sunday.
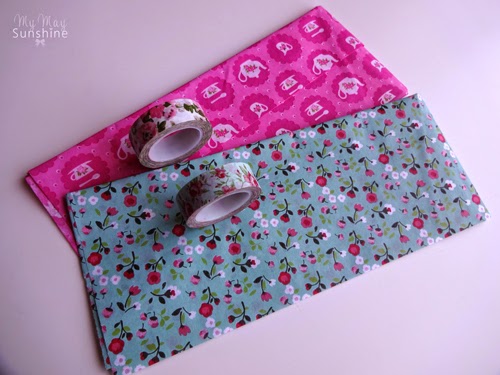
I picked up these tissue papers in a local card shop and really loved the colours especially the mint green. I also found some washi tape in my stash that match quite well.
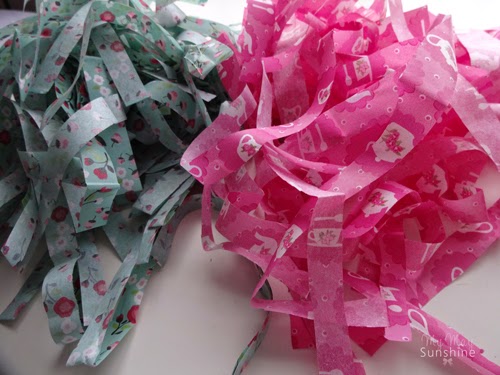
I cut the tissue paper into strips. I think I took the harder route of making the tassel’s like this rather than keeping the tissue paper whole and cutting strips into it, but I started it like this so continued.
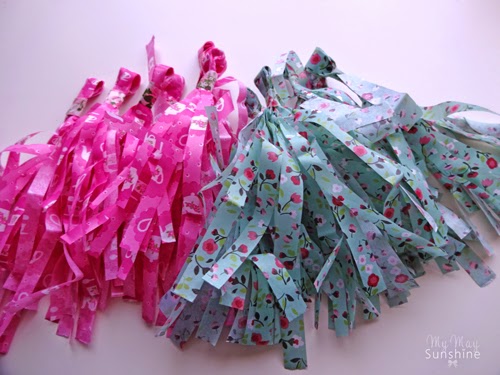
Next I gathered some of the strips and folded them in half and taped them up making a little loop of the top to thread the yarn though to hang it up.
I just added the tassel’s to some yarn and put the yarn through the loop twice so keep the tassel’s in place.
I hung the garland up under some shelves above my dining table and placed the yarn number one that I showed on Wednesday, above the garland.

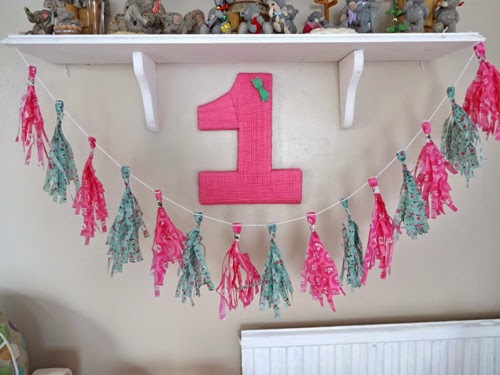
I really like the colour combinations of the tassel garland and the yarn number and worked well with the stone colour of the wall.
It was so easy to make, adds a lovely pop of colour and you could make one for any occasion.
This, like the yarn number, will probably be put on a wall in the girls room to add some more colour.
What do you think to this simple garland? Let me know.
